 This is a guest post from Leigh Ann, one of my favorite ladies and an awesome rabbi, author, blogger, mom of almost 4, and overall great woman (in no particular order). You can find her over at The Naptime Novelist or reader her other guest post here, Blueberry Challah.
Thanks for letting me guest-post, Amanda! Delighted to be here.
I love filled challah because I can call it "breakfast" on Shabbos morning, when the last thing I want to do is trudge into the kitchen to get cereal or bagels or muffins for my apparently STARVING children.
On Friday night, I just throw one of these suckers on the coffee table in the living room, so that immediately upon waking, my littles can fall upon this breakfast like the
vultures zombies Shabbos sweeties they are.
Ahem.
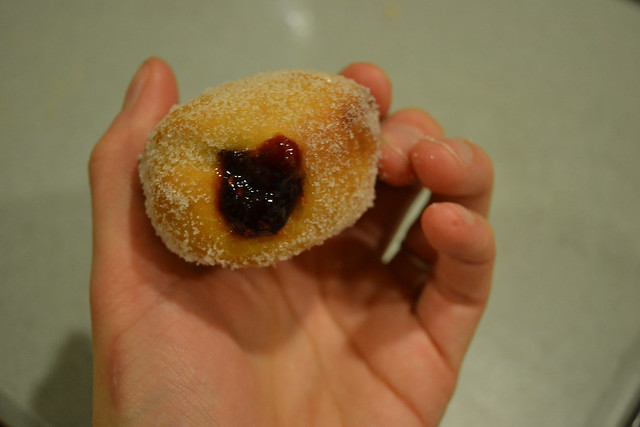
It occurred to me that I should probably start thinking about Chanukah-themed challah, because, well, that's how I roll. I spied a can of raspberry pastry filling in my cupboard leftover from Hamantaschen-making, and sufganiyah-style challah was born.
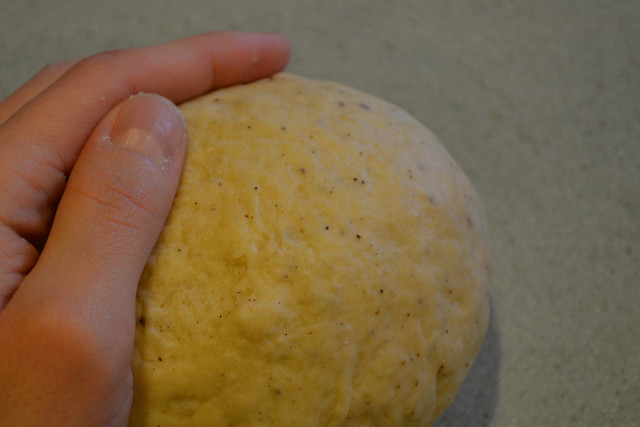
Use your regular challah dough recipe. You might want to make it a tad sweeter, so you can add more sugar...I came across this odd little bottle of flavoring, added 2 tsp to a regular batch of dough, and it was just a little butterier and sweeter.
(Note from The Mrs.: I used a similar buttery sweet dough enhancer from King Arthur Flour in my Caramel Chocolate Challah.)

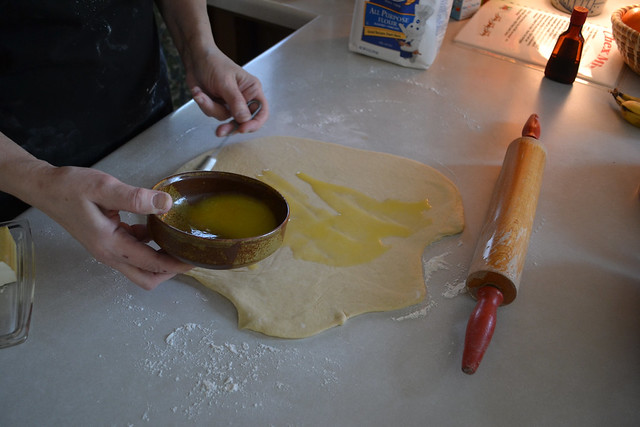
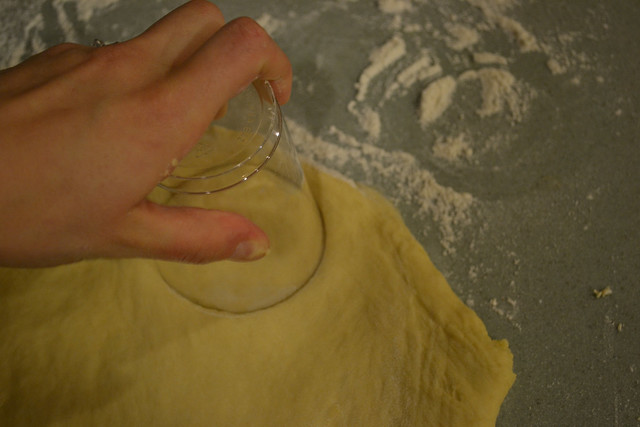
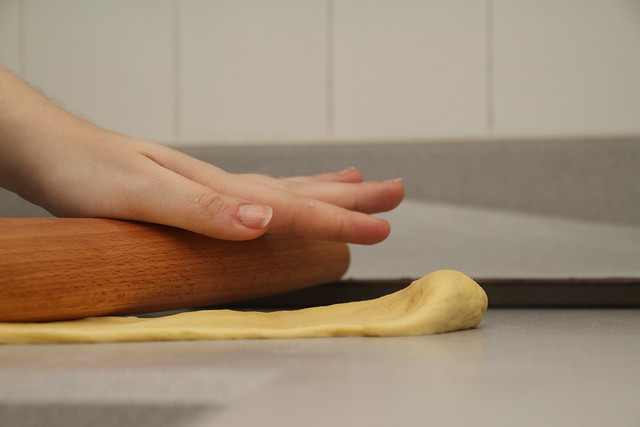
When you're ready to braid, flatten your strands as much as possible. The challah dough is surprisingly tough and elastic, so I've found that rolling strands as usual and then just taking a rolling pin to those suckers
Brush the whole strand with beaten egg white. Just enough to act as "glue."

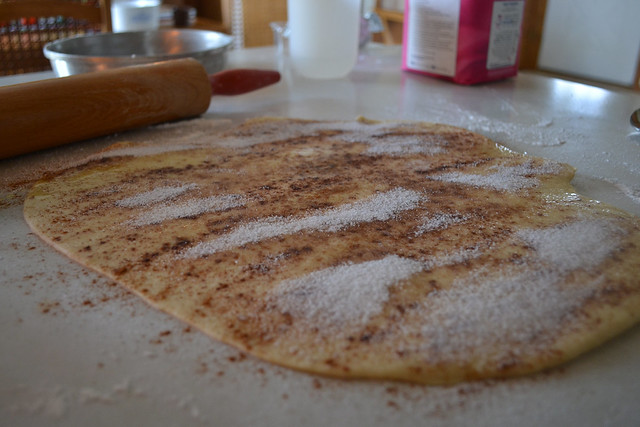
Drag a thin-ish line of filling down the middle - you don't have as much room as you think in there. Trust me.
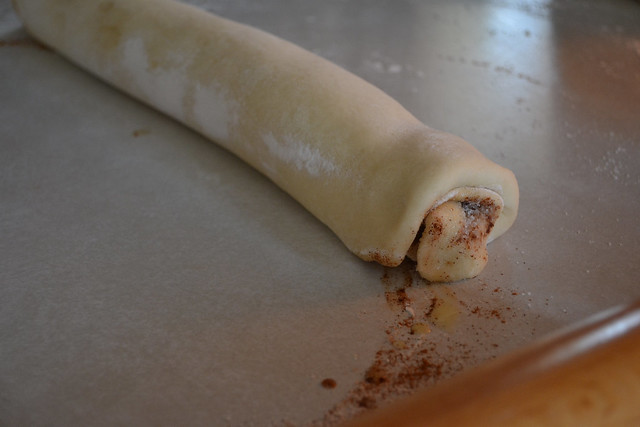
Pull up the sides and pinch them together. Don't try to fold one side over the other like you would swaddle a baby - this filling is too liquid for that.
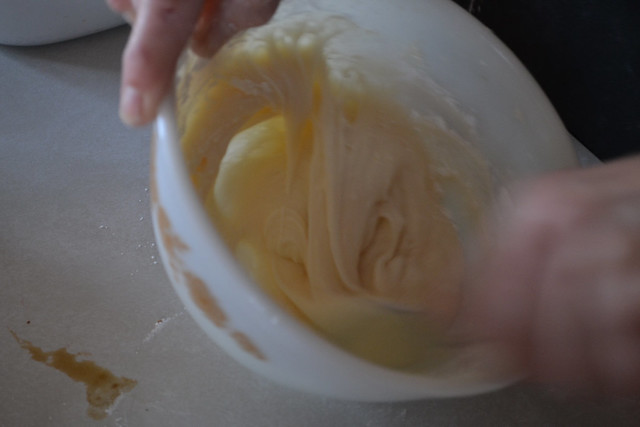
 (Yes, I did get some schmutzies on my fingers. So what? It's going in the oven.)
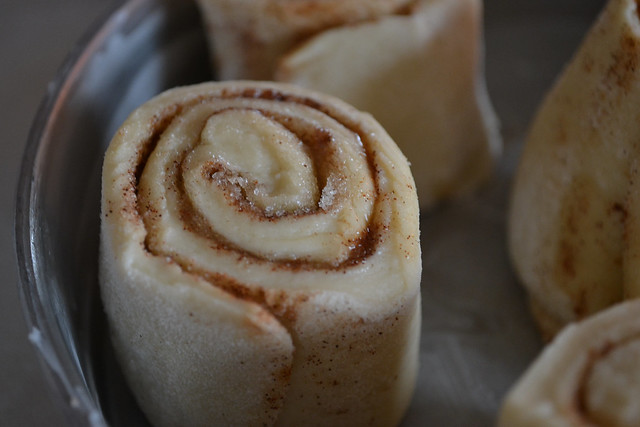
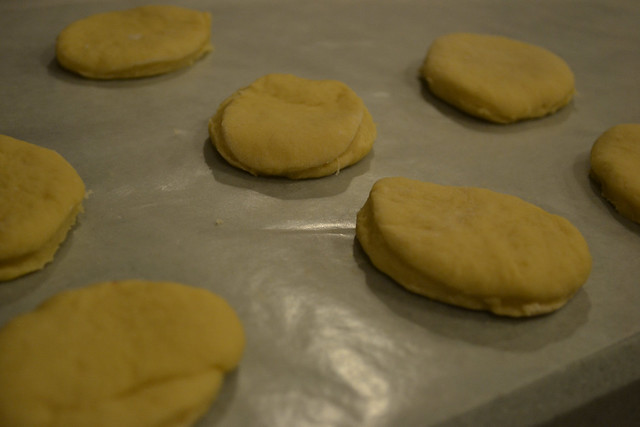
As with any stuffed or filled challah, when you braid, try your best to keep the seam on the INSIDE. That way, when
(not "if," WHEN) that filling leaks, it'll just leak onto more challah and you won't lose it to the pan. Also it's WAY less ugly with the seam on the inside.

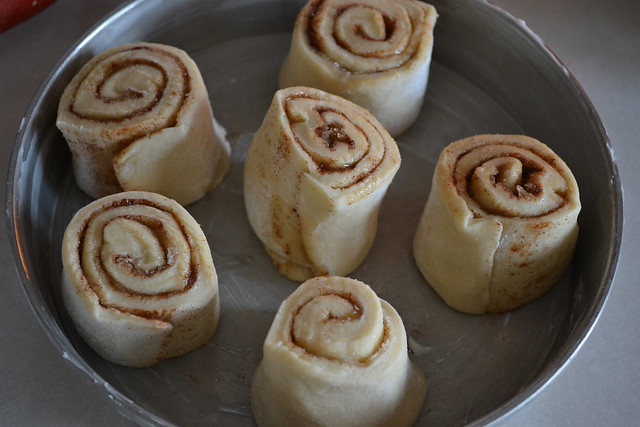
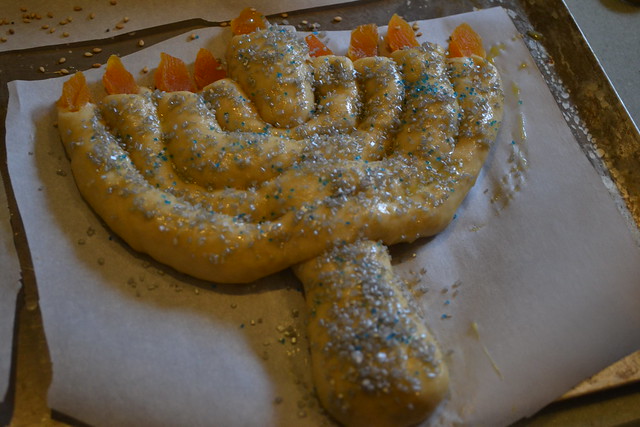
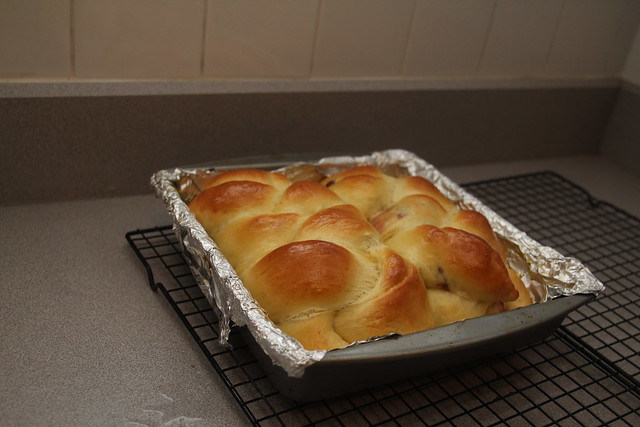
Now, snug your challot up together in a well-greased, walled pan - I used a 9" square for two medium-sized challot. Same principle as braiding with seams in - You don't want to lose any of that filling. Better sticky on the outside than crusty-burned onto a pan.
It's okay if there's a gap in the middle - between the second rise and the baking, they'll end up touching.
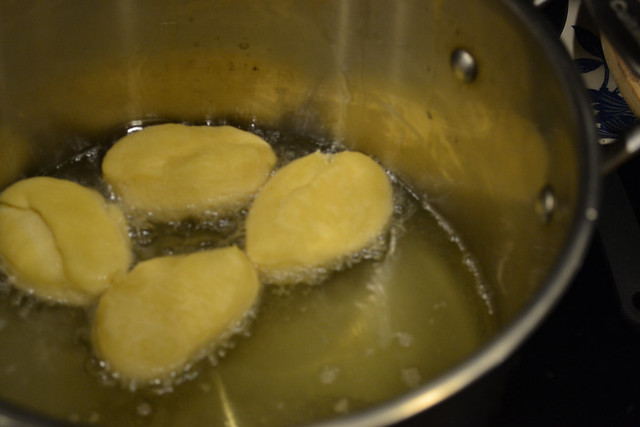
 (See? They always leak.)
Let it do a second proof and bake it as usual - mine took the same temp and time as a typical challah.
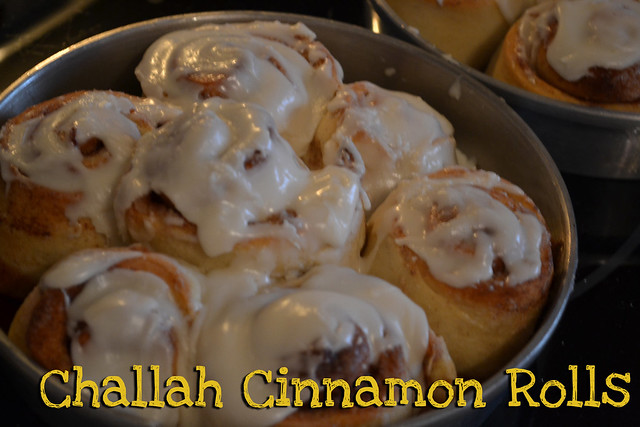
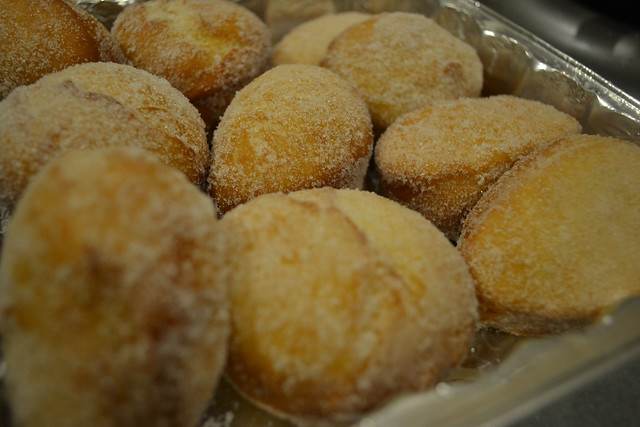
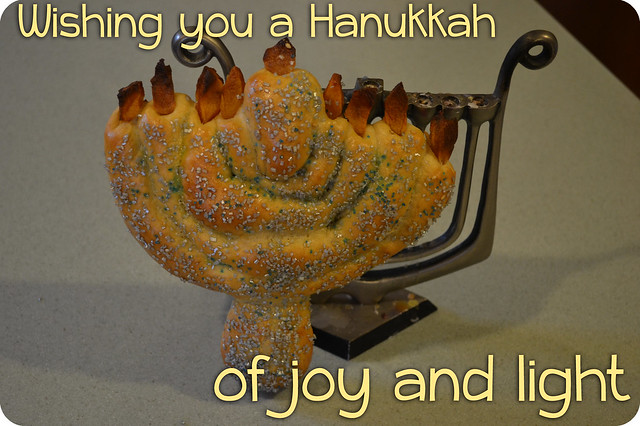
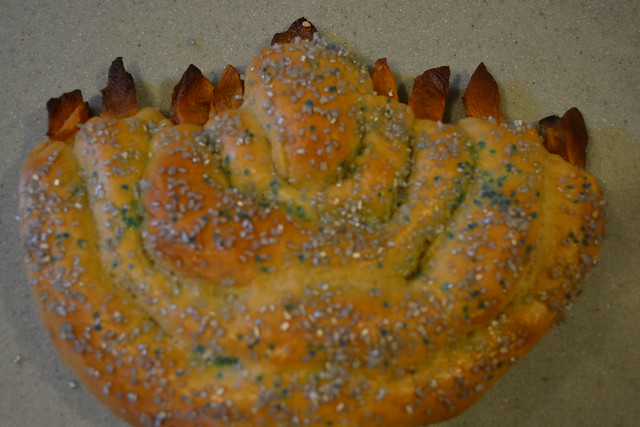
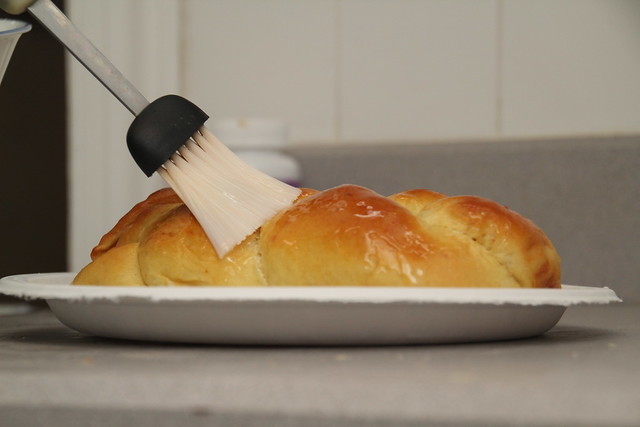
Aaaand.....Here it is!
Okay, okay, I know. Not so impressive looking, huh? At this rate, you might end up feeding it to the dog (or the squirrels, I understand, if you live in Virginia) at the end of your Chanukah party. Let's pretty it up a little, huh?
Go ahead and brush it with a syrupy-thin mixture of confectioner's sugar and water....
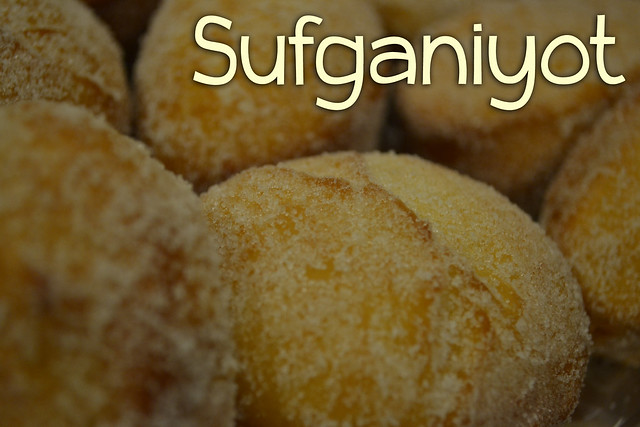
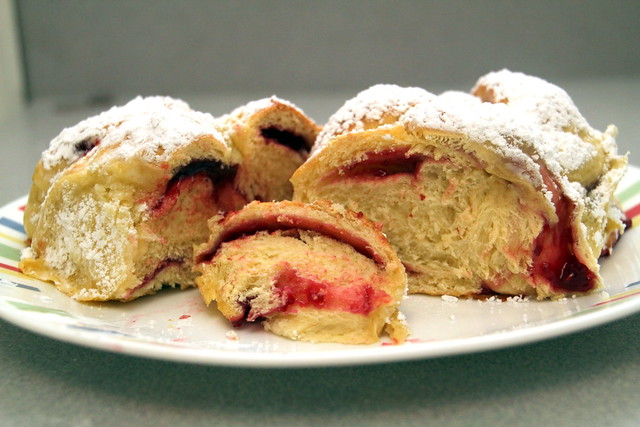
Dust it with confectioner's sugar, and.....ooooh! Now, THERE's a sufganiyah-style challah.
Chag Urim Sameach, you guys - and don't forget! When someone compliments you on this challah, it was VERY DIFFICULT to make, and you're completely exhausted, and probably someone else should clean up the kitchen while you take a load off.