A few weeks ago, I spotted a little block of fresh yeast nestled in between the eggs and the cottage cheese at my local grocery store. Excited, I dropped it in our cart and brought it home for some experiments.
I'd read in several of my cookbooks some conflicting ideas on fresh yeast.
Martha Stewart's Baking Handbook says:
Our recipes call for fresh or dry yeast. To substitute one for the other: One cake compressed fresh yeast (.6 ounces) equals one envelope (1/4 ounce or 2 1/2 teaspoons) active dry or instant yeast... Fresh yeast, also known as compressed yeast... should be smooth, relatively dry (not soggy), and free of any mold. A good test of freshness is to press a piece of the yeast between your fingers--it should flake and crumble easily. If there is any hint of gumminess or moisture, the yeast is probably past its prime. Both fresh and dry yeast should be stored in the refrigerator to maintain their potency.
In Mark Bittman's
How to Cook Everything Vegetarian, he writes:
The process [rising] is as old as baking--that is, thousands of years--but it's been understood only since the mid-nineteenth century, when o' Louis Pasteur discovered that yeasts are living, single-cell fungi that produce carbon dioxide through fermentation (baking and brewing have a lot in common). Before then, most breads were risen with sourdough starters, which contin wild yeasts, but shortly thereafter commercial yeast production began. Now, of course, you can buy yeast in various forms at the supermarket, including fresh, active dry, and instant, which is the most recent addition to the group and bay far the most convenient... Many bakers contend that fresh yeast tastes better than dry, but I don't see it. It is kind of fun to work with, but for me instant is the way to go.
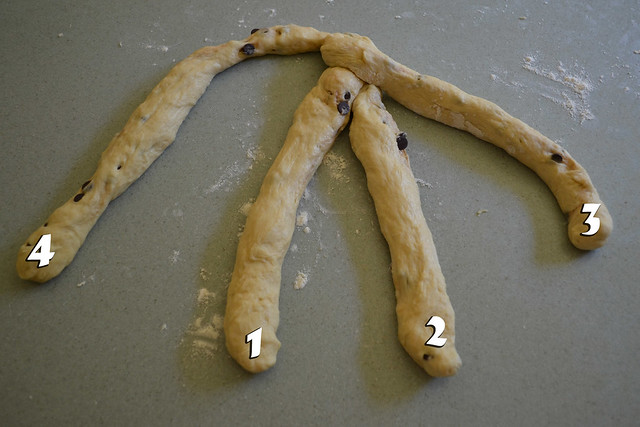
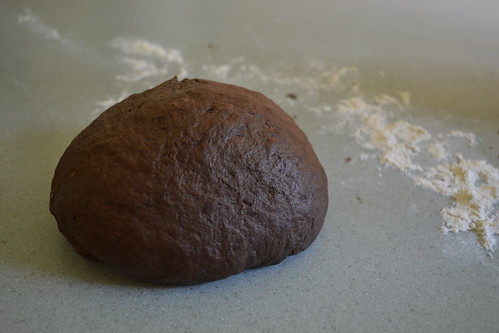
So, using Martha's measurments of .6 oz equaling 2 1/2 tsp active dry (what a coincidence), I divided my 1.8 oz block into three and made three weeks worth of fresh yeast challah.
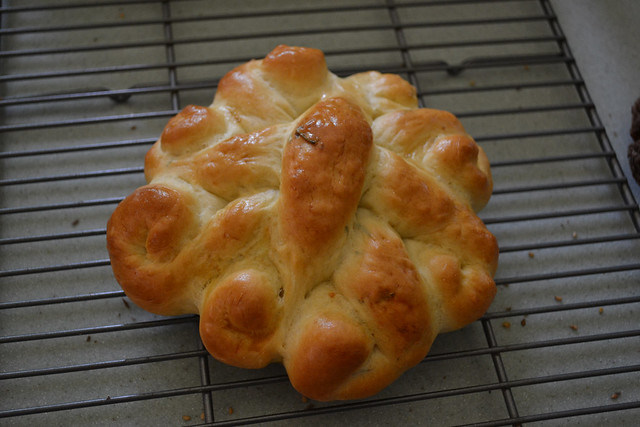
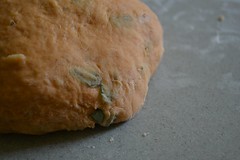
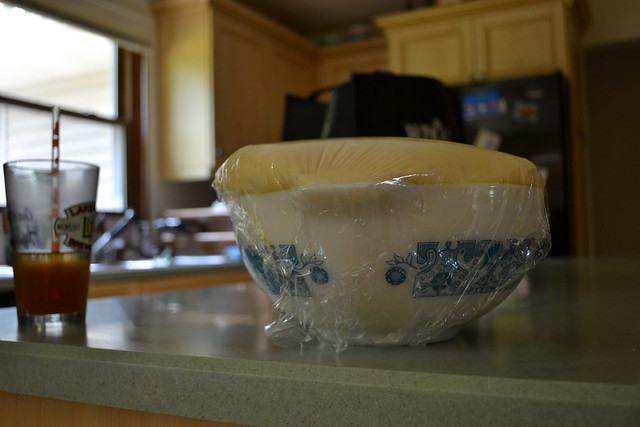
Week 1 - Made alongside
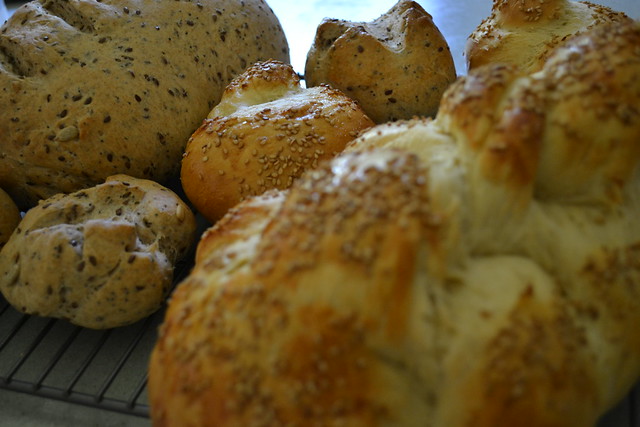
Hippy Dippy Flax Seed Bread, this was our actual challah for Shabbat. It seemed to rise "faster" to me, but it was very, very hot at home, so I couldn't be sure. Fresh yeast has a ripe, yeasty flavor (duh!), that reminds me a lot of beer.
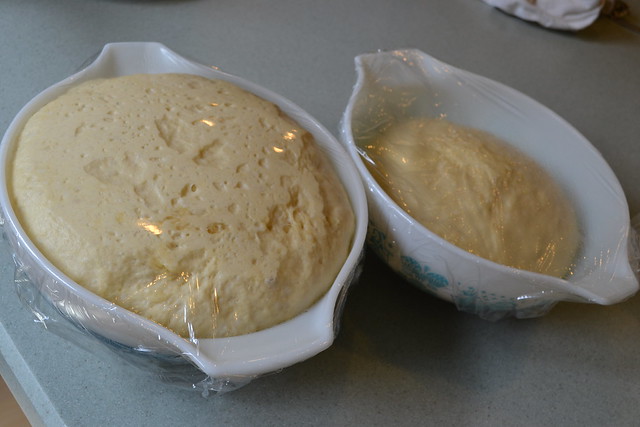
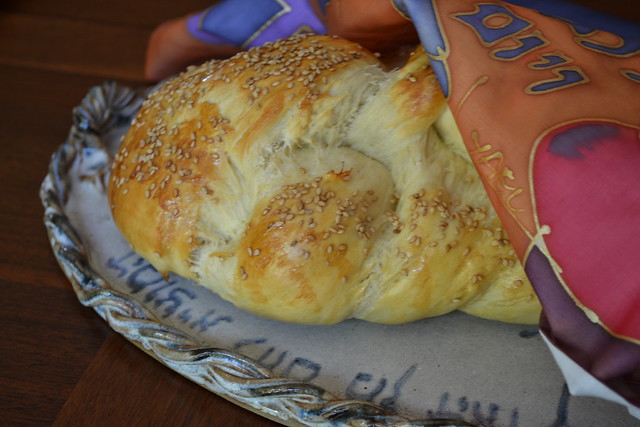 Week 2
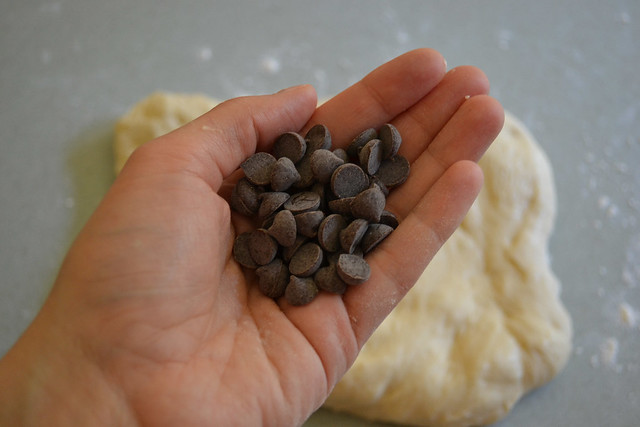
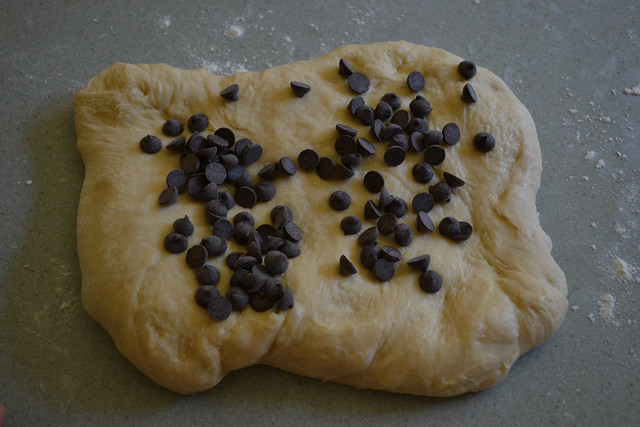
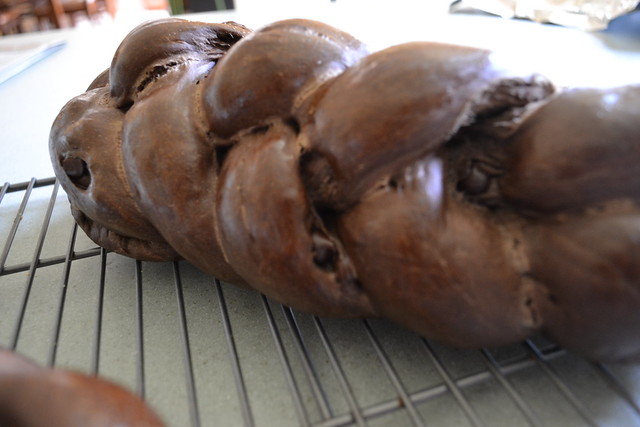
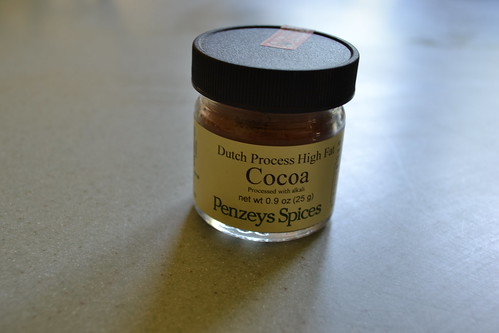
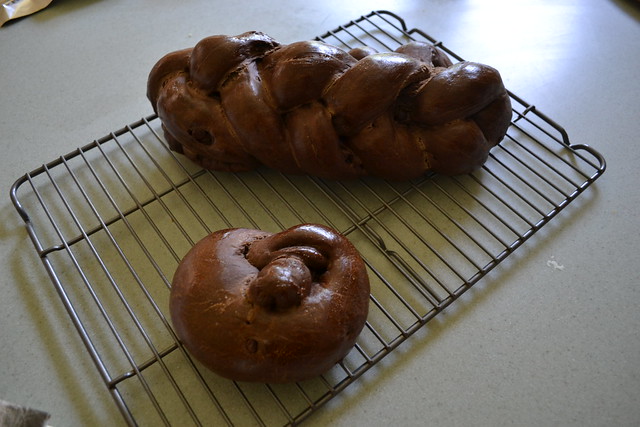
 - Made alongside
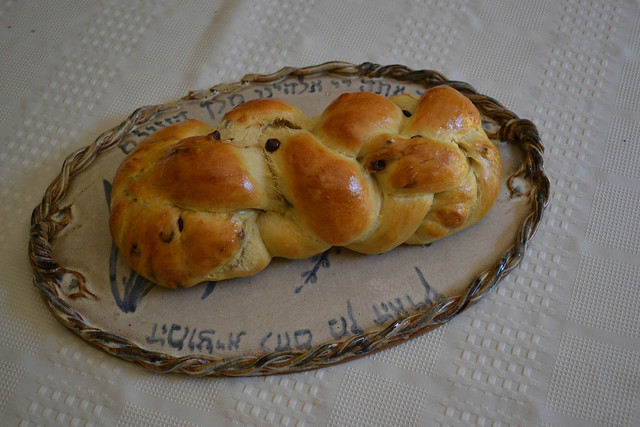
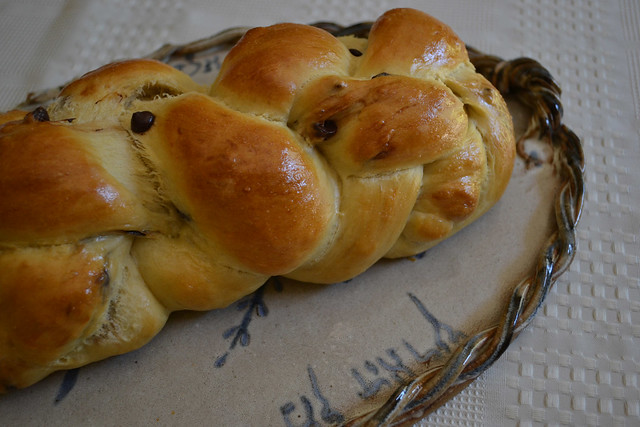
Double Chocolate Challah, wooza! I left for a haircut and came back an HOUR AND A HALF later (short rise!) to find this explosion.
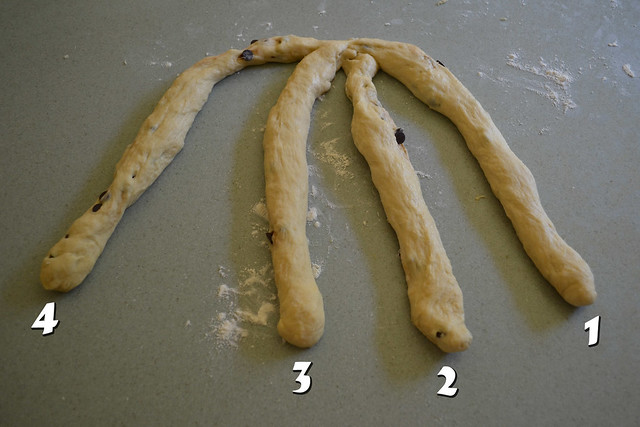
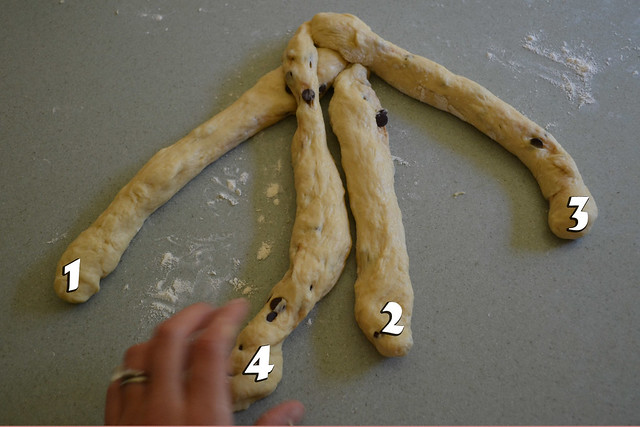
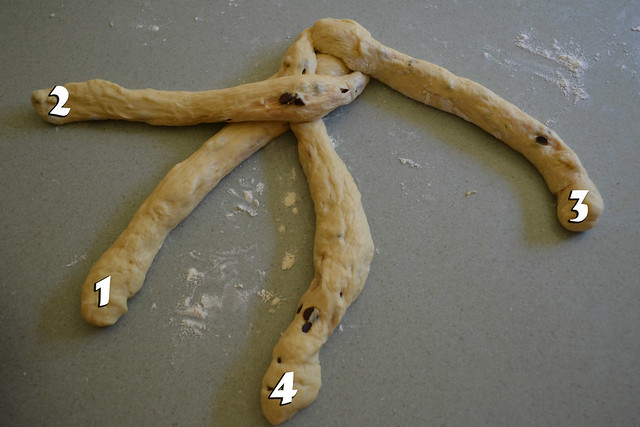
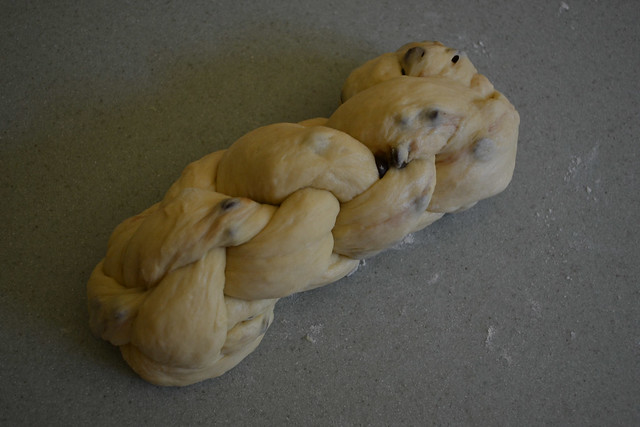
A quick braid and second rise (maaaaybe 25 minutes, again, quick), baked. Completely golden. This time, we decided we really noticed a qualitative change in the challah. Softer, yeastier (again with the uncreative adjective), and yet a more delicate yeastiness. It's hard to describe. It seems very yeasty but it doesn't taste overly yeasty. If you've ever accidentally used too much yeast in bread, you know what I mean.
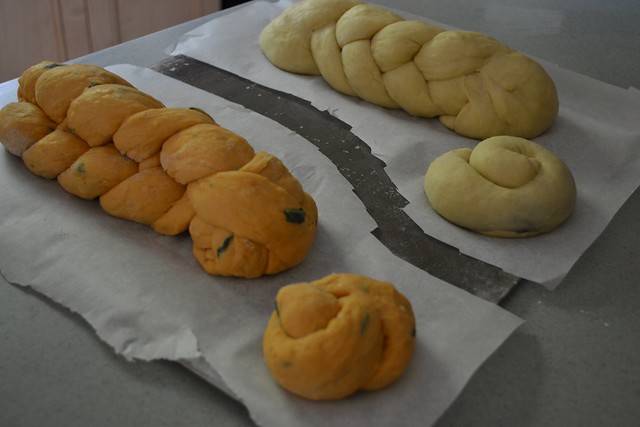
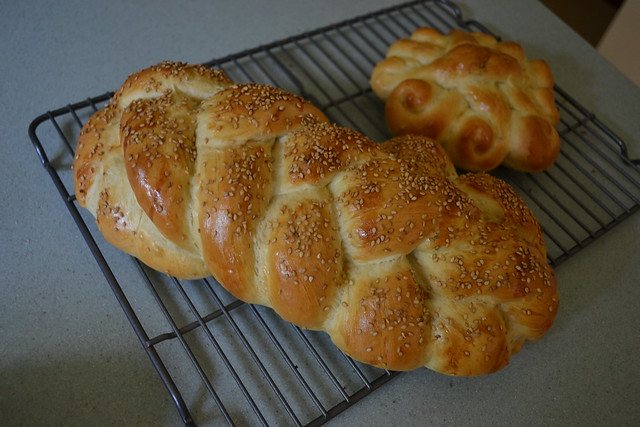 Week 3
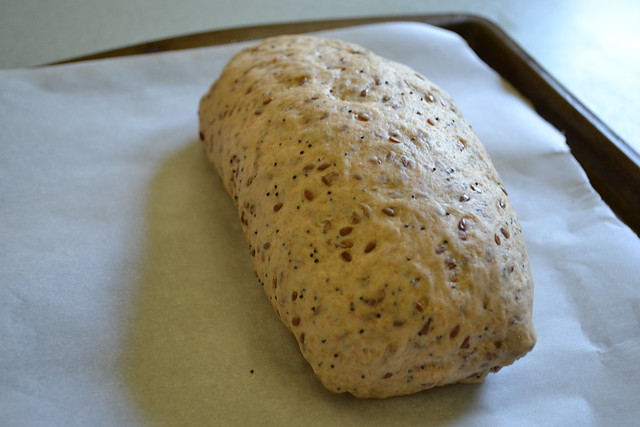
 - We were having a BIG crowd of IMPORTANT people that I wanted to IMPRESS (more on this another time), so we needed to full size challahs. But, since I wanted to try the fresh yeast more time, I made two half-batches -- one with fresh and one with active dry. The active dry was about 10 minutes "behind" the fresh yeast (that is to say, I started ten minutes after the other). No question, however. The fresh yeast rose faster. Waaaaaaaay faster...
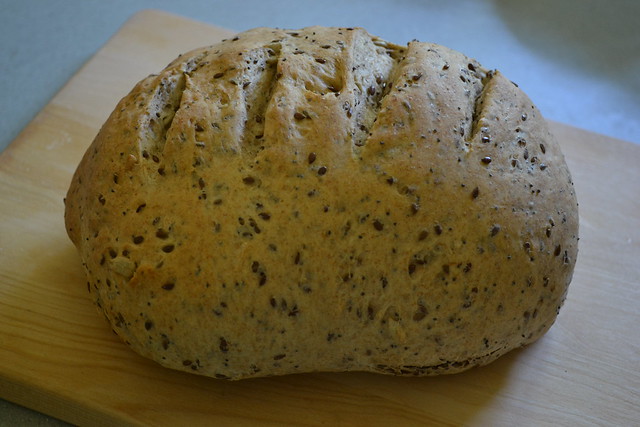
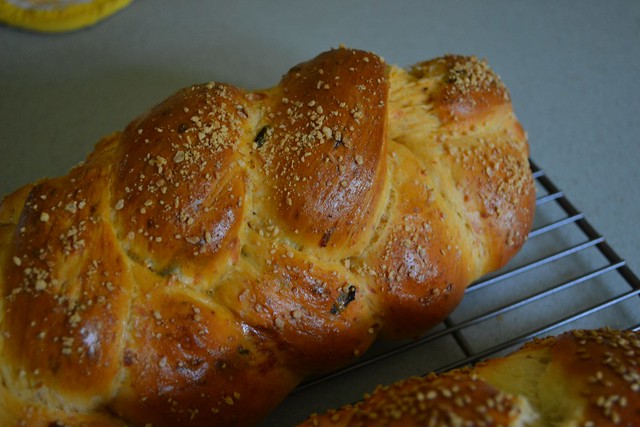
The dough felt pretty much the same. To keep everything very standard, I used the same baking sheet. The active dry continued to rise while the fresh was in the oven, until it appeared to the same size in the bowl. Once baked, side by side, the loaves do look different. The active dry (with poppyseed) sort of collapsed open in the oven and isn't quite as lovely. At the Shabbat table, we tasted and compared.
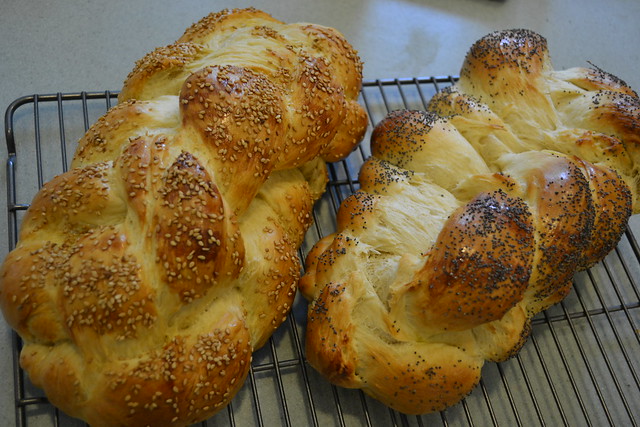 The Verdict
 - Side by side,
the fresh yeast tastes better. As I said, it a mild, but stronger yeastiness. The texture is a little "doughy-er" which I like (both were baked to around 185 degrees in the center). Fresh yeast certainly isn't all that more expensive when you're talking about 50 cents per loaf. That said, my friend pointed out that her giant bag of active dry from Costco can last several months. I'm planning on buying fresh yeast when I can. But, honestly, you're not really missing much if you don't want to bother with it. It's worth trying for fun and I'd definitely be interested in experimenting more with it for more "pure" breads like baguette and things where there isn't honey and eggs in the equation.
Have YOU ever used fresh yeast? Have any other secret yeast tips?